If you already have a PostDICOM account, go to PostDICOM login page and continue from Step 7 below. If you do not have a PostDICOM account, Click on "Start Free Trial" button.
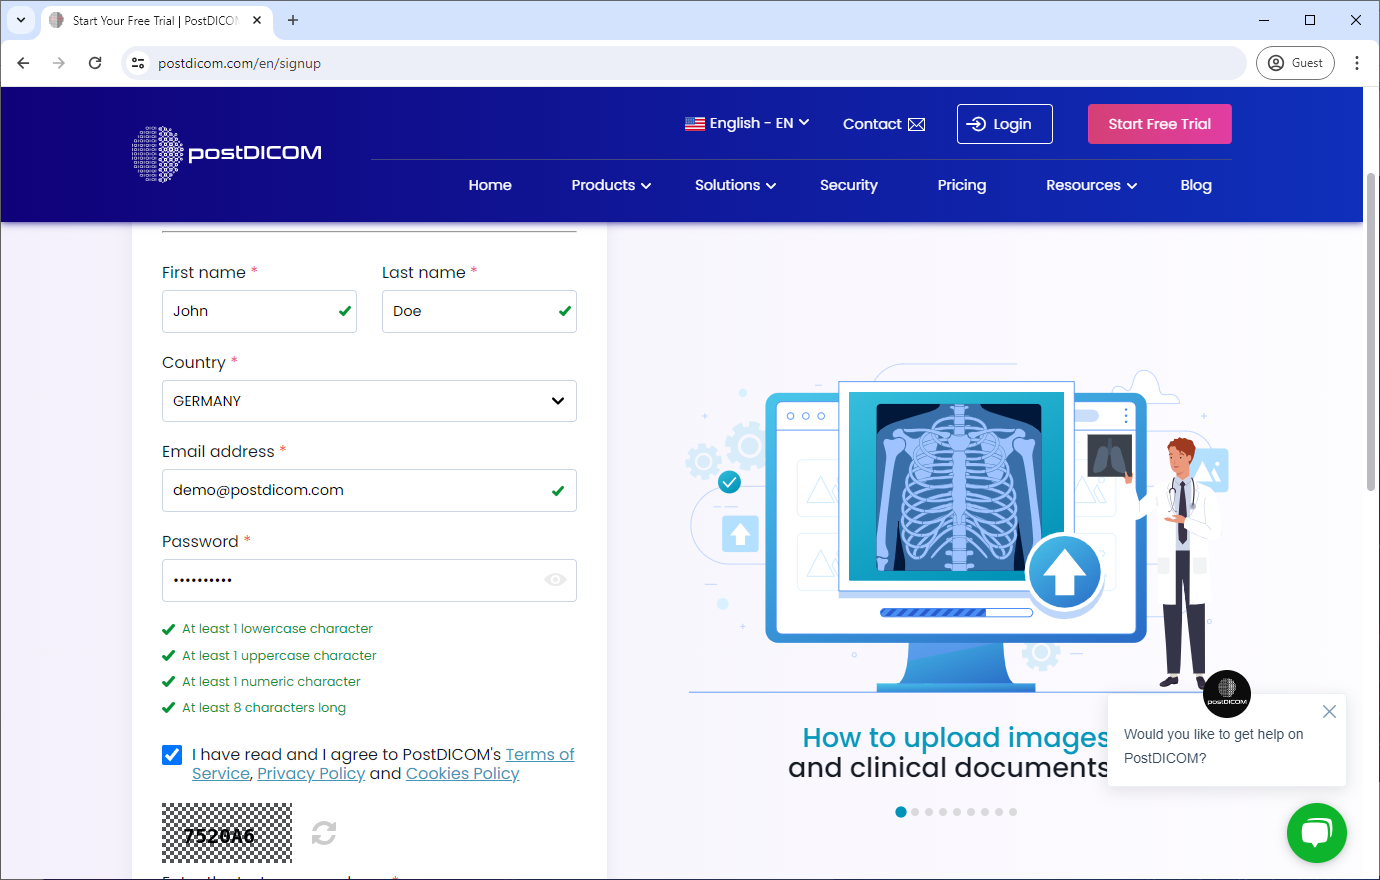
Fill out the required information and create an account.
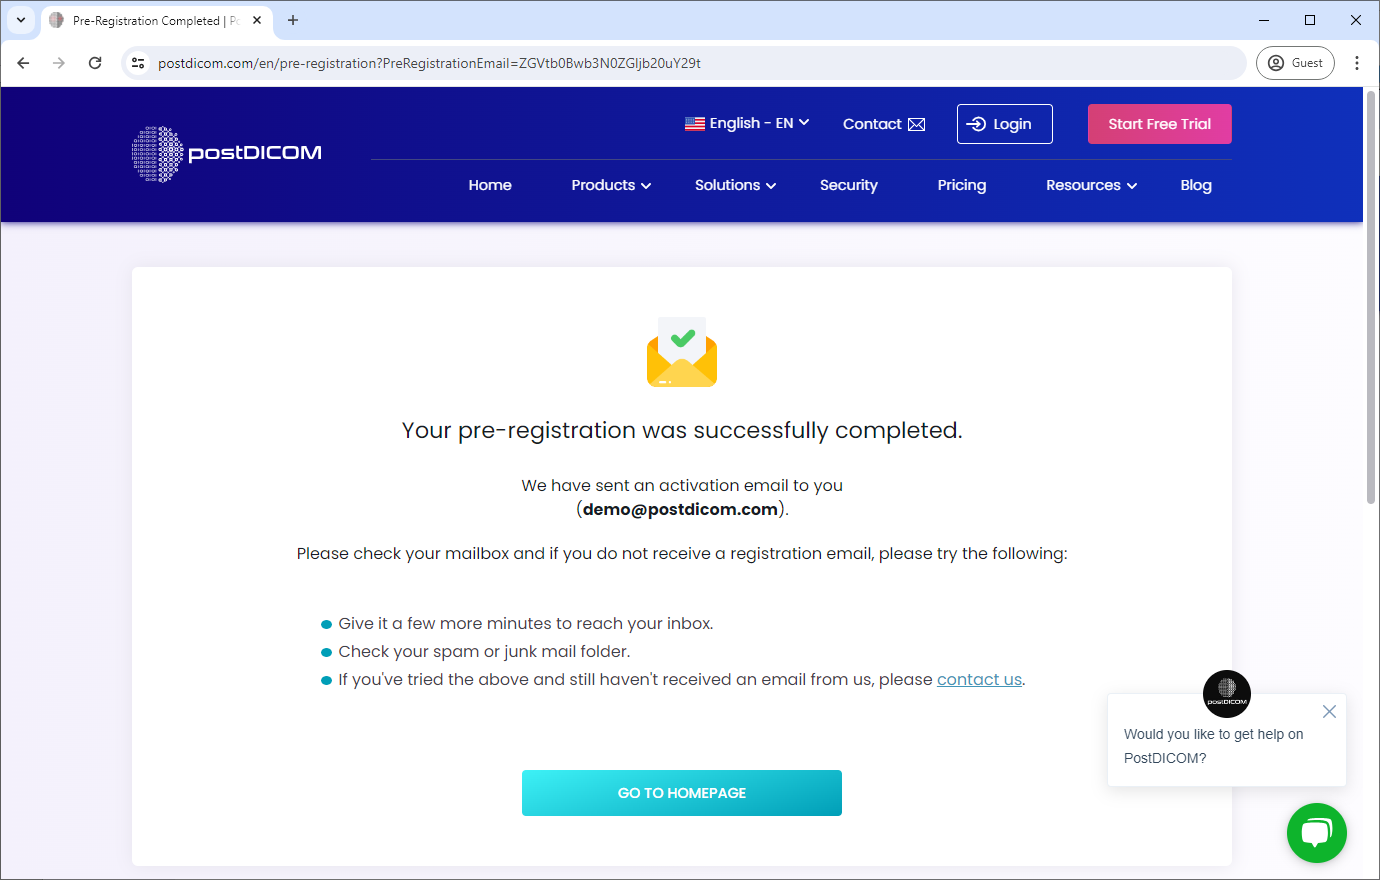
Our system will send you an email. Check your email inbox for the email containing the PostDICOM account activation link.
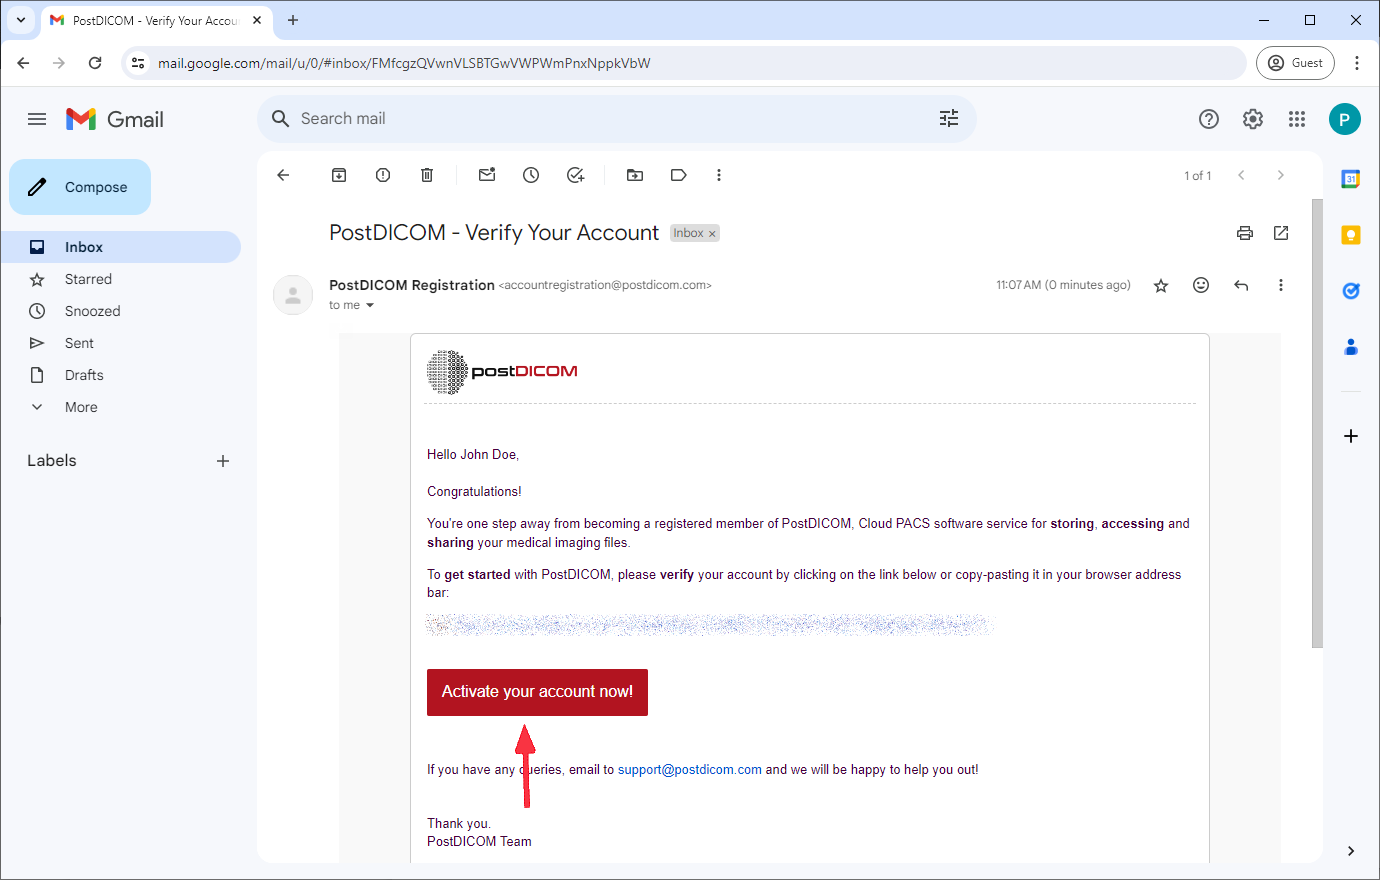
Open the email and click the "Activate your account now!" button in the email.
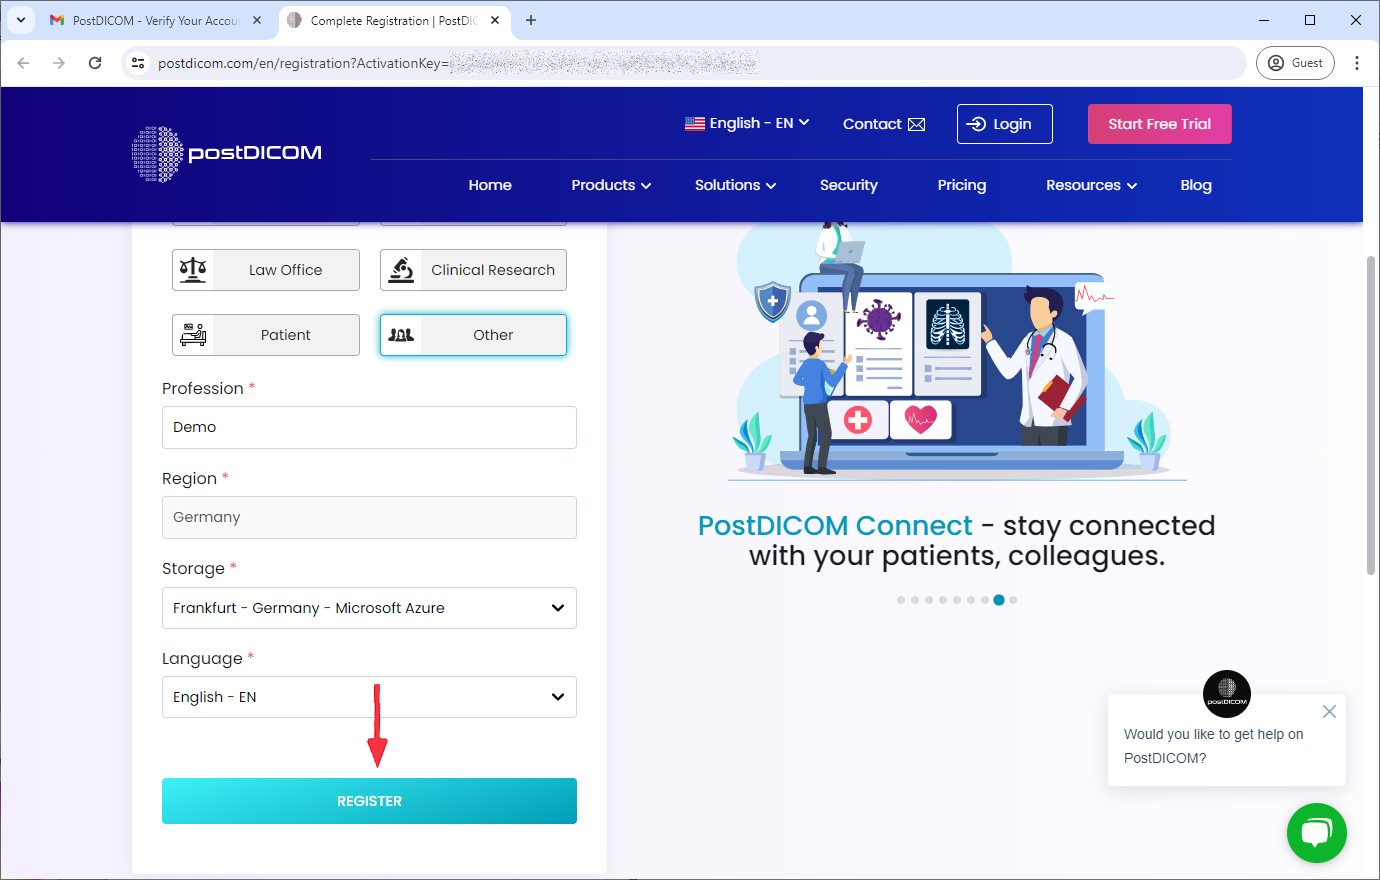
You'll be directed to a registration page. If it does not work, copy the activation link and paste it to your web browser (Google Chrome, Microsoft Edge, Firefox, Apple Safari, etc.). Fill out the necessary fields and click "Register" to complete your registration.
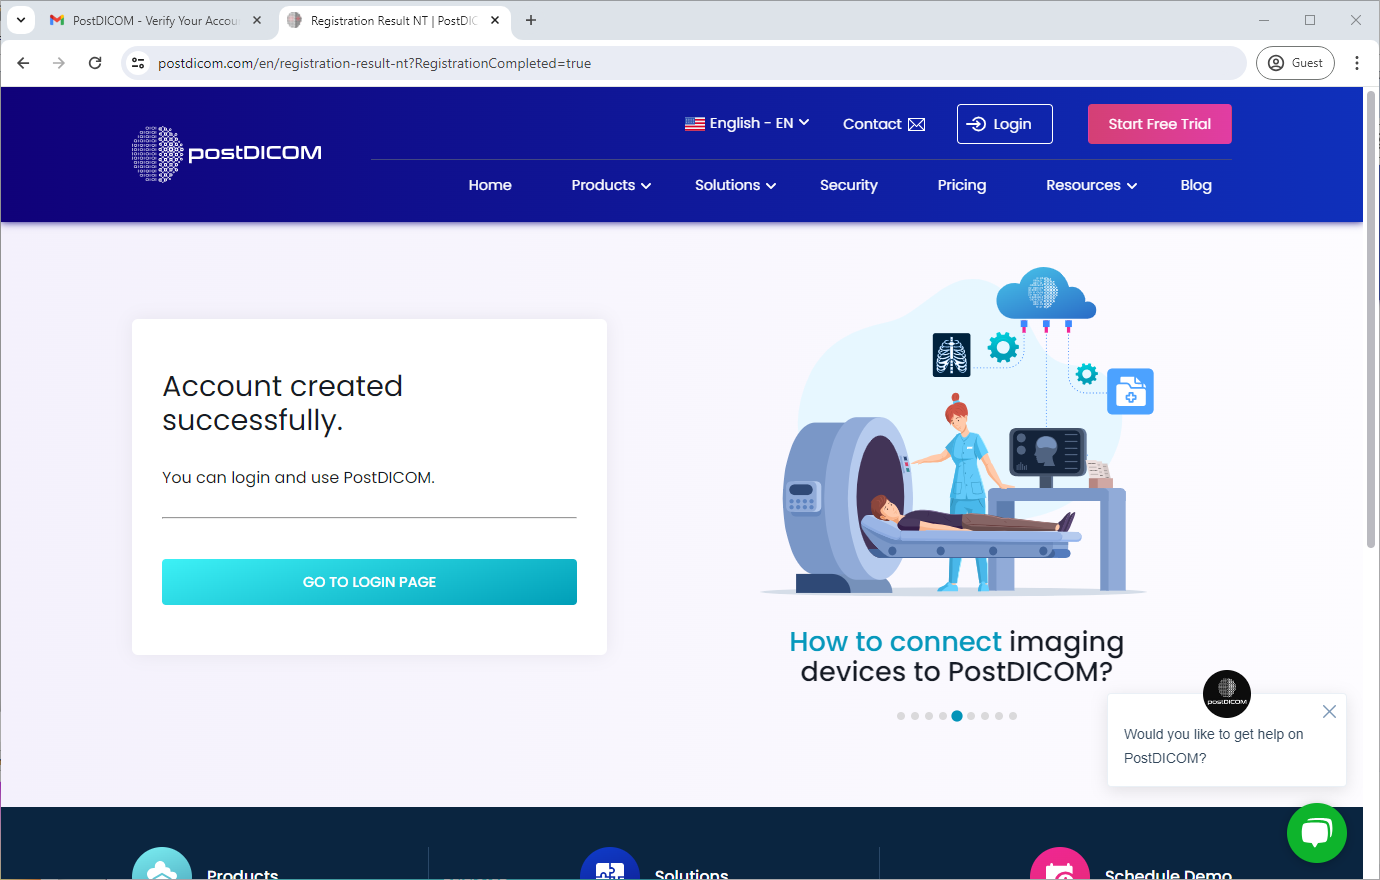
Upon successful account creation, you'll see a confirmation message. Click "GO TO LOGIN PAGE" to login PostDICOM.
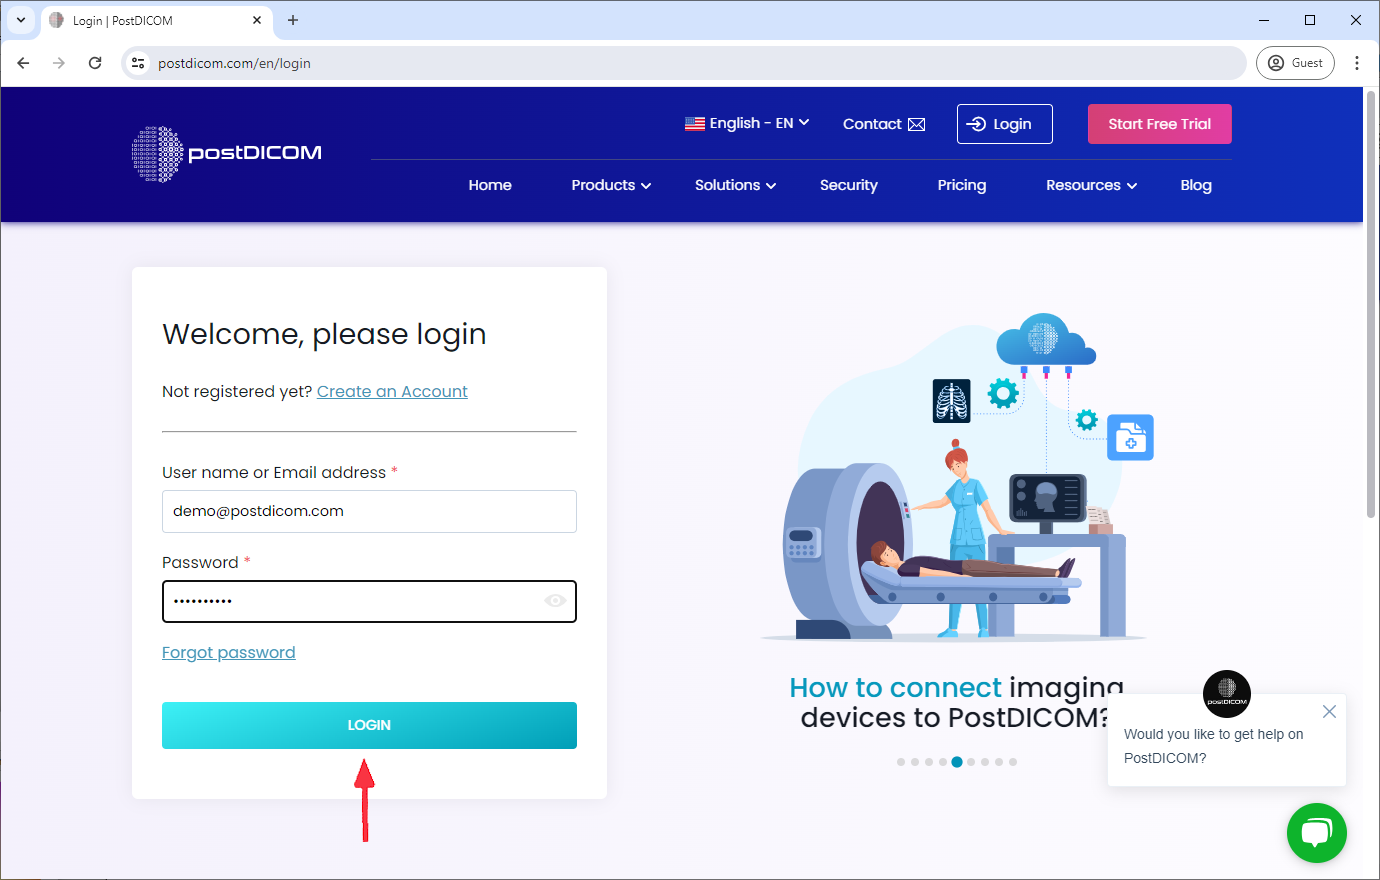
Enter your username or email address and your password, and then click "Login" to proceed.
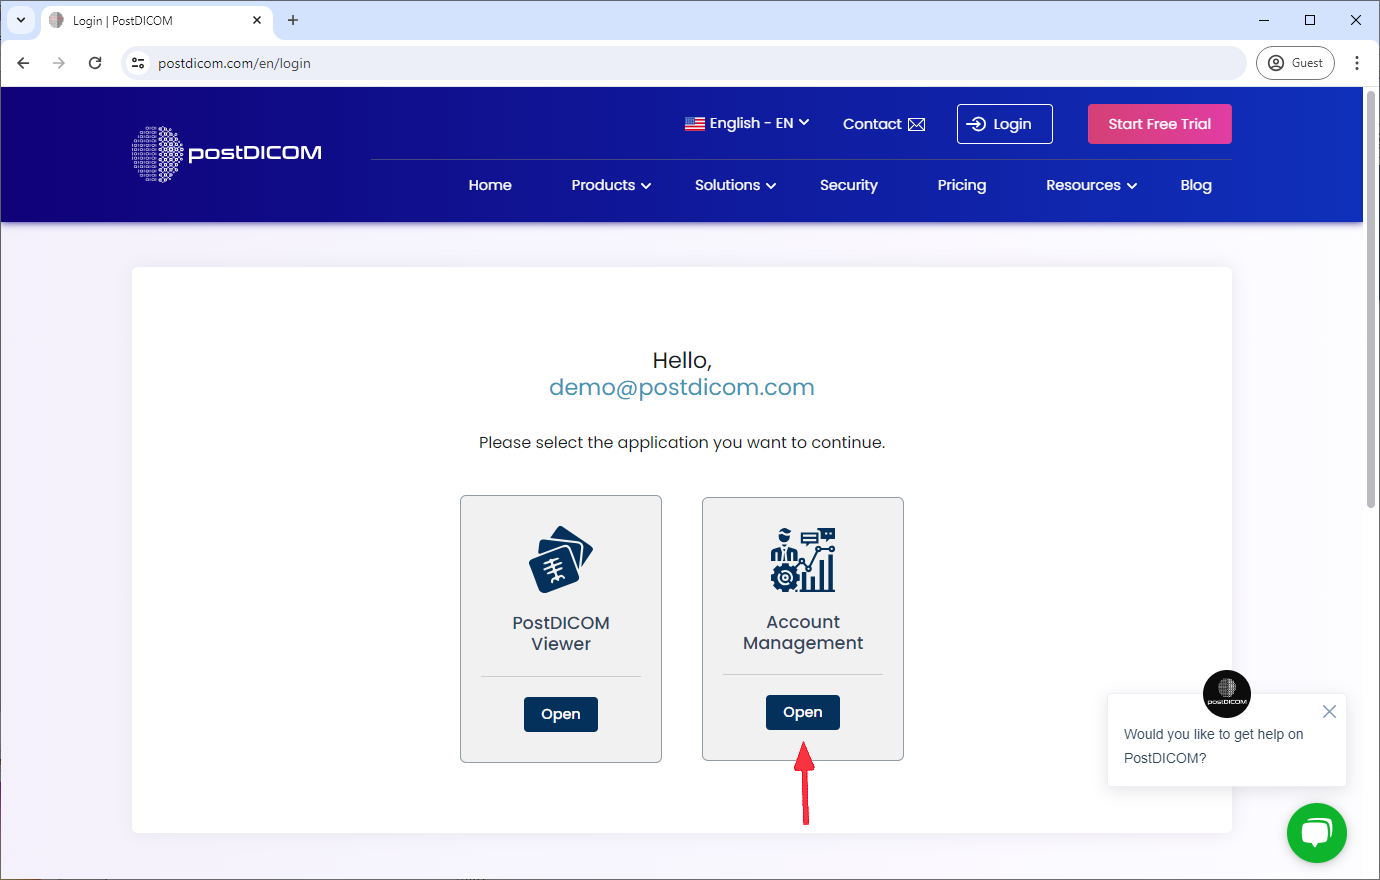
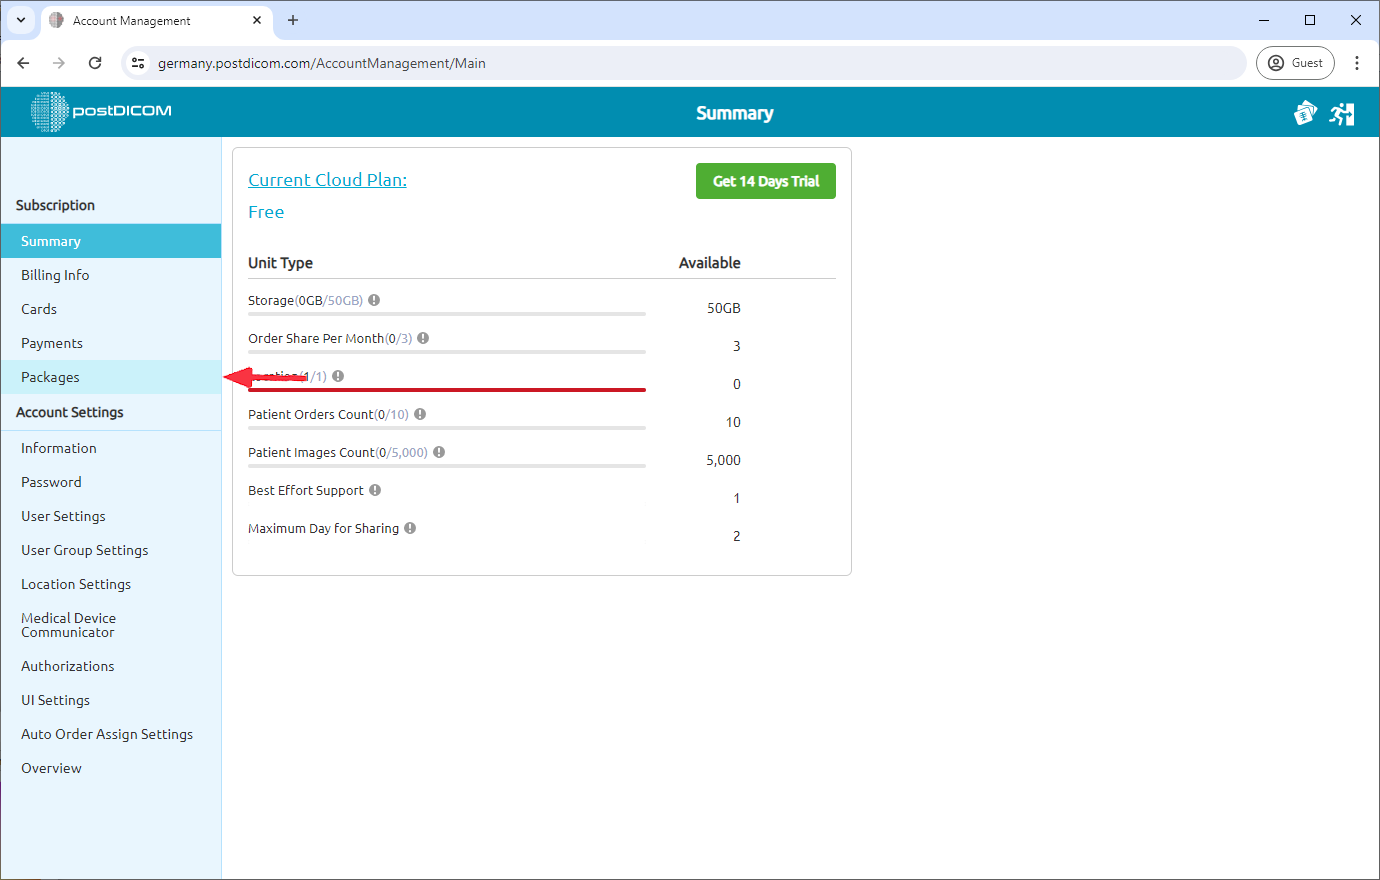
Select "Account Management".
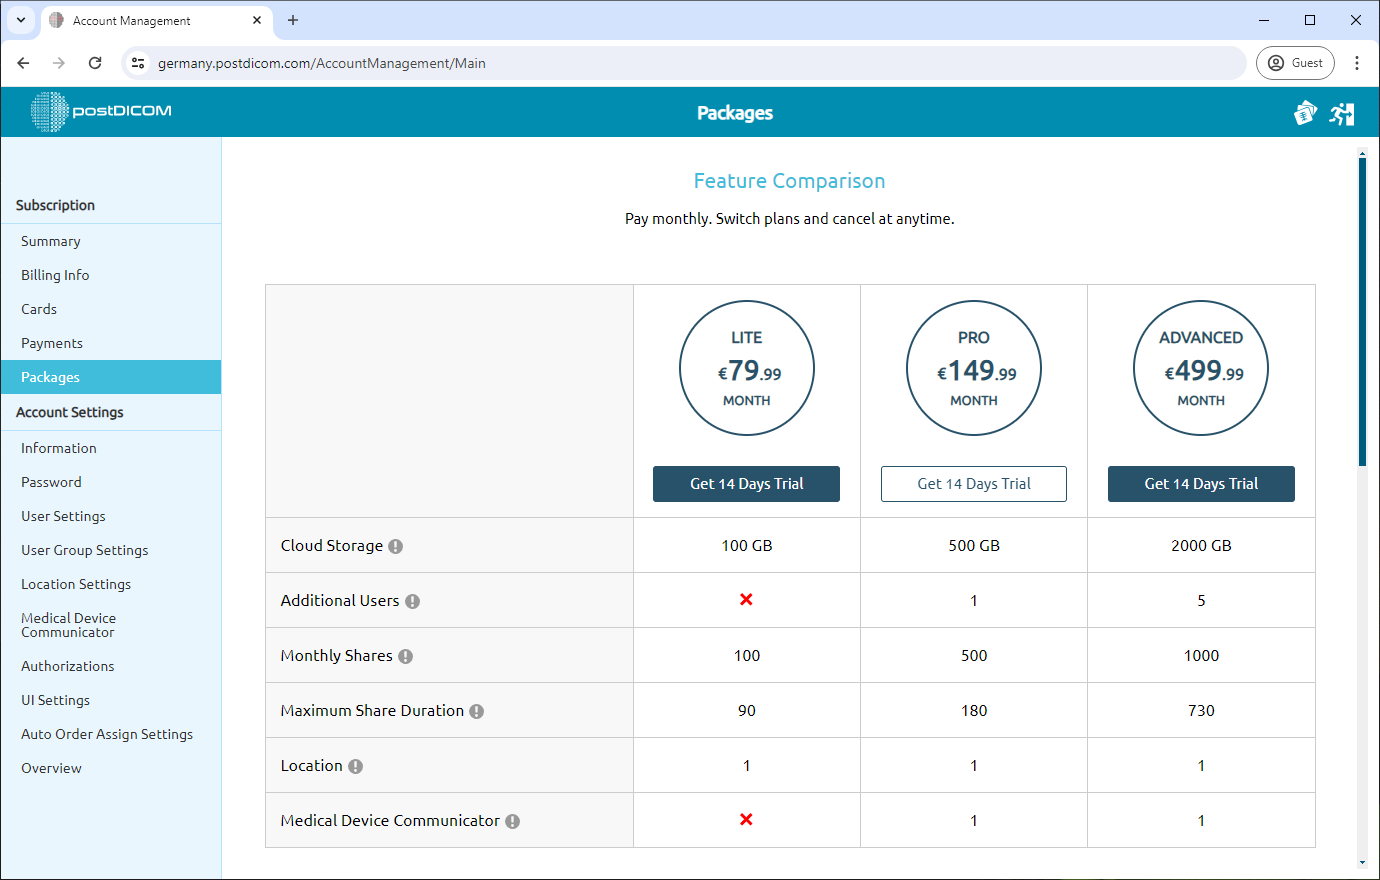
Click on "Packages" tab.
You'll see various subscription options. Choose the plan that best suits your needs. Note: You can switch plans or cancel your subscription at any time. You can view Package details below the packages names. After signing up, you'll be eligible for a 7-day free trial. To activate the free trial, click "Get 7 Days Trial" Button. If you created your PostDICOM account more than 7 days ago, you cannot start free trial. Click on the "Buy Now" button.
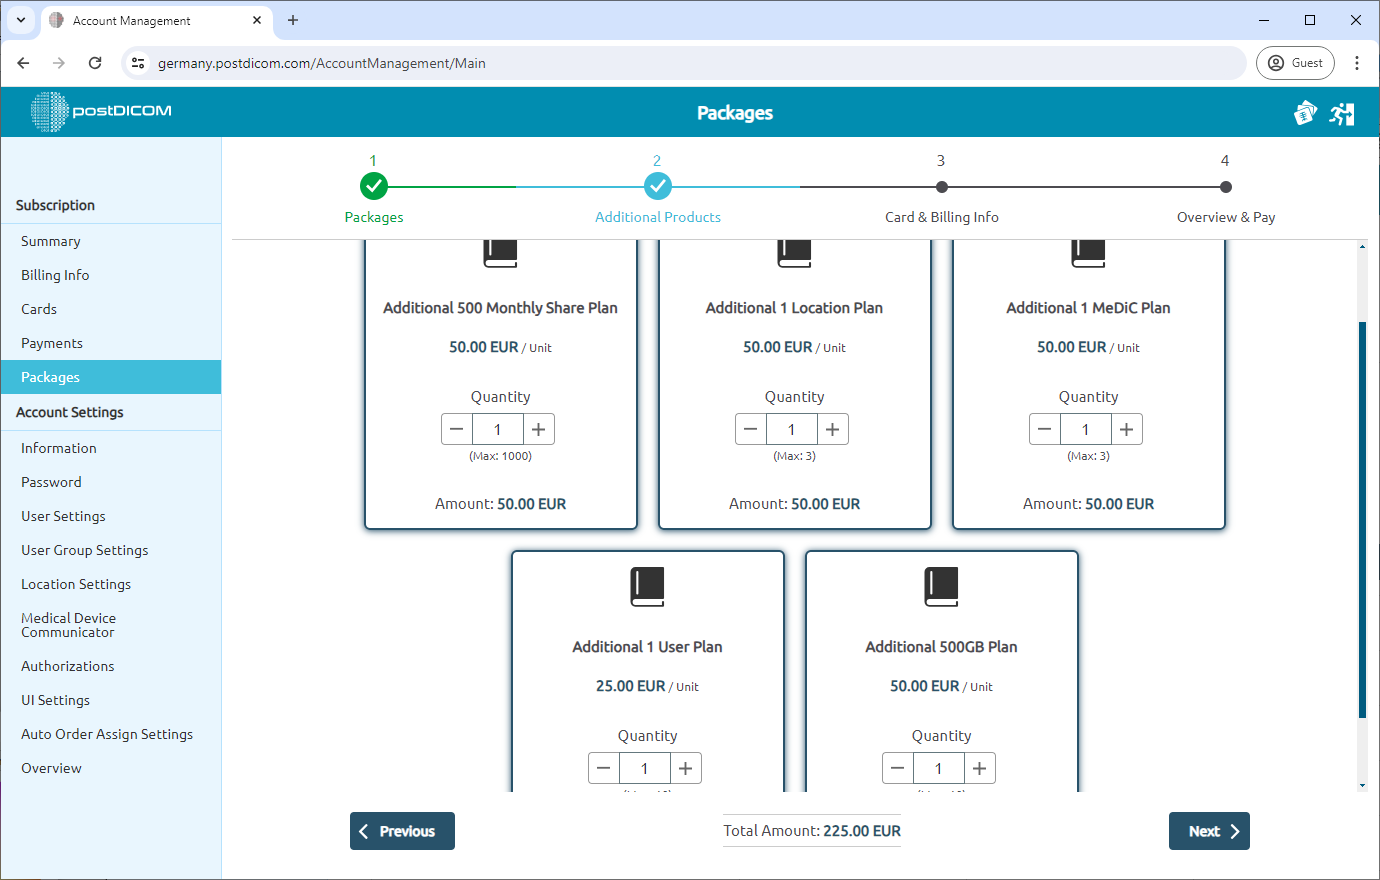
In this step, you'll see options for additional products. If needed, you can add them by clicking the "+" button under the quantity section. The total amount will be displayed at the bottom of the page. Click "Next" to continue.
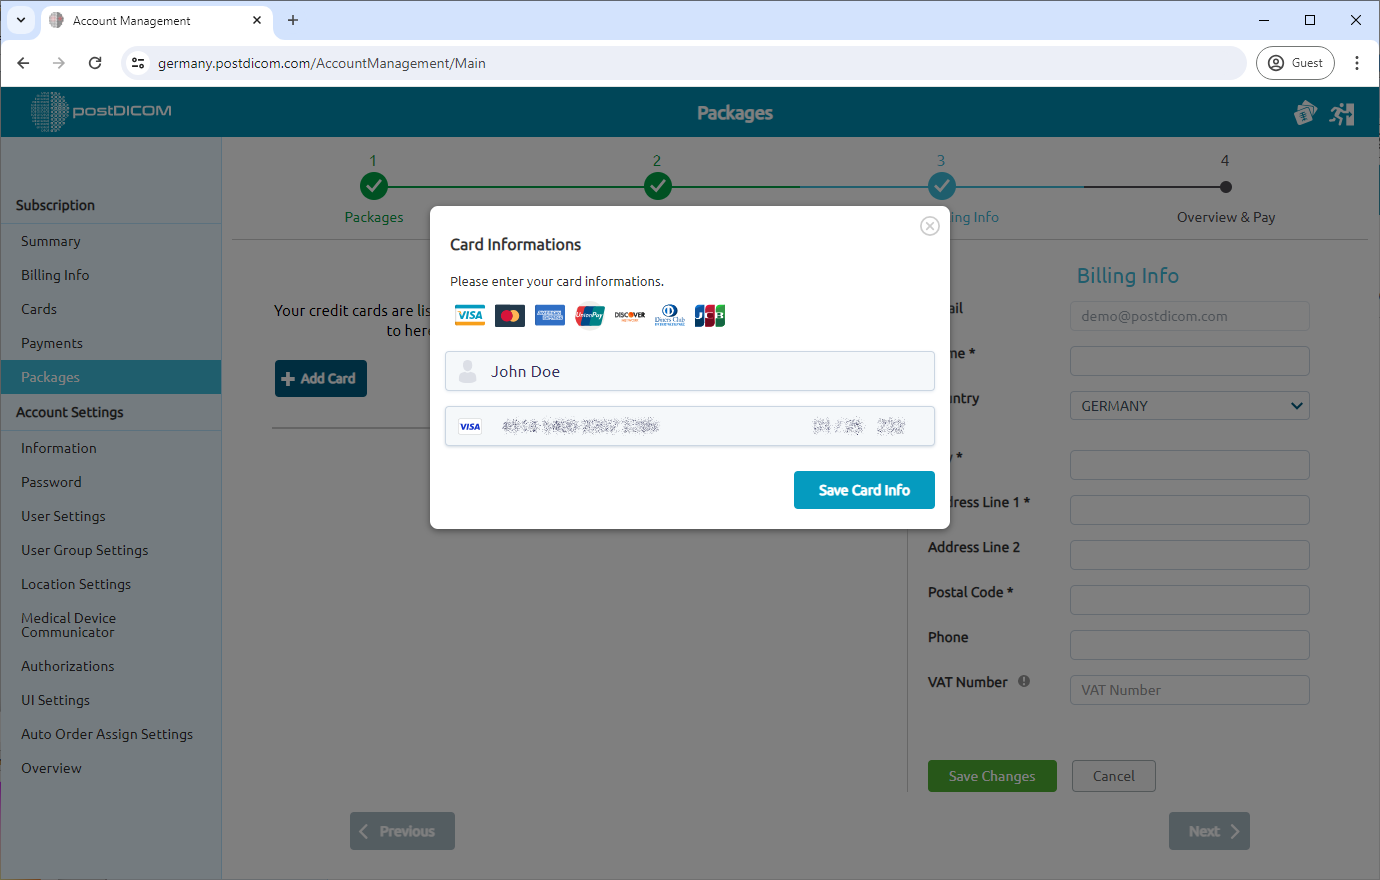
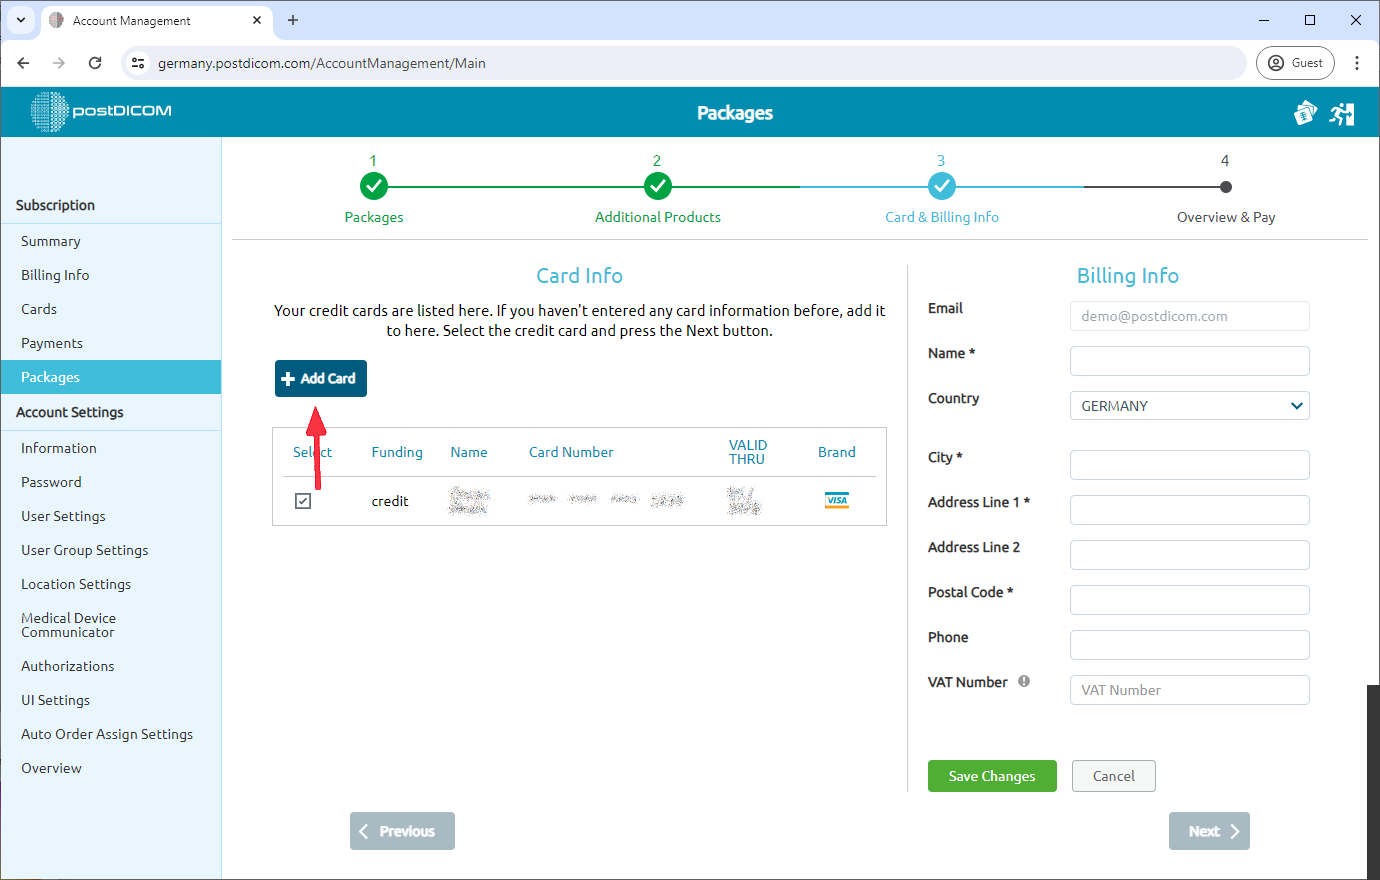
We will need your credit card to complete the subscription process. In this step, a pop-up window will appear. Enter your credit card details and select "Save Card Info" to store your information for payments.
You can add multiple credit cards for payment flexibility. To add a new card, click "Add Card" and follow step 10.
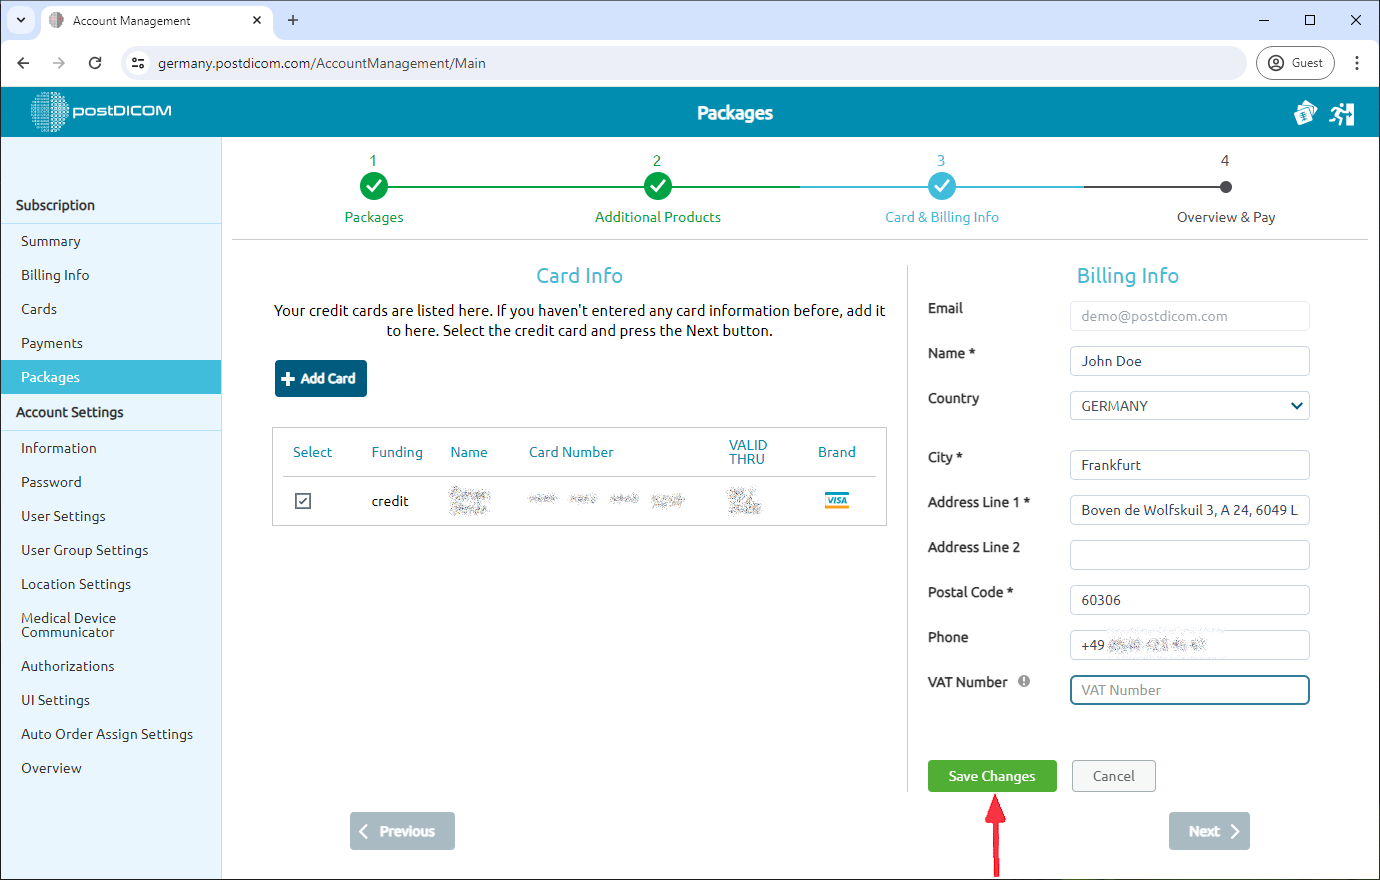
Fill out the billing information section on the right side of the page. Fields marked with an asterisk (*) are mandatory. For European customers, there is a VAT number field you can fill out if applicable. Once you've filled in the necessary information, click "Save Changes."
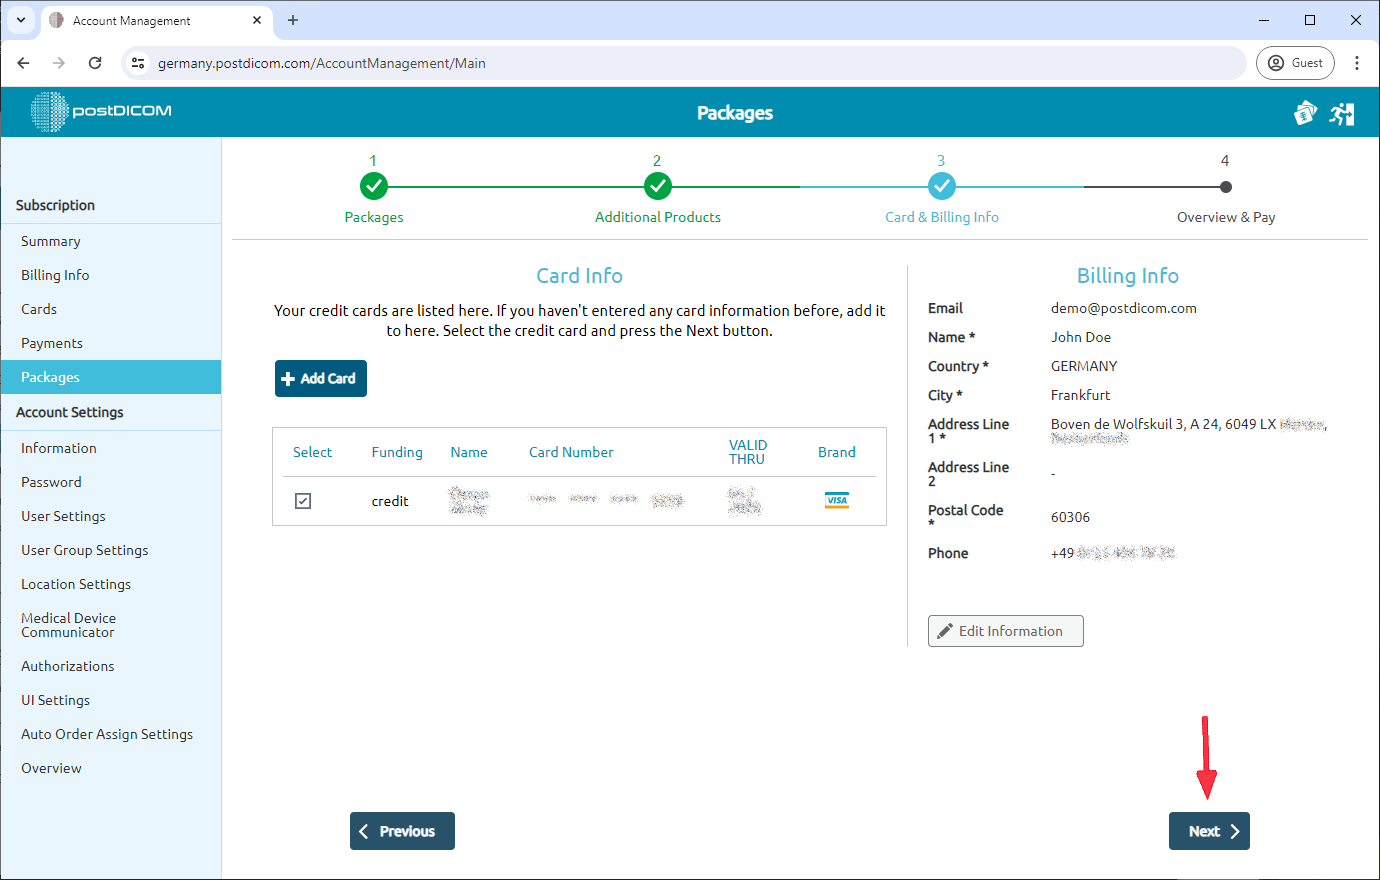
Click "Next" to continue.
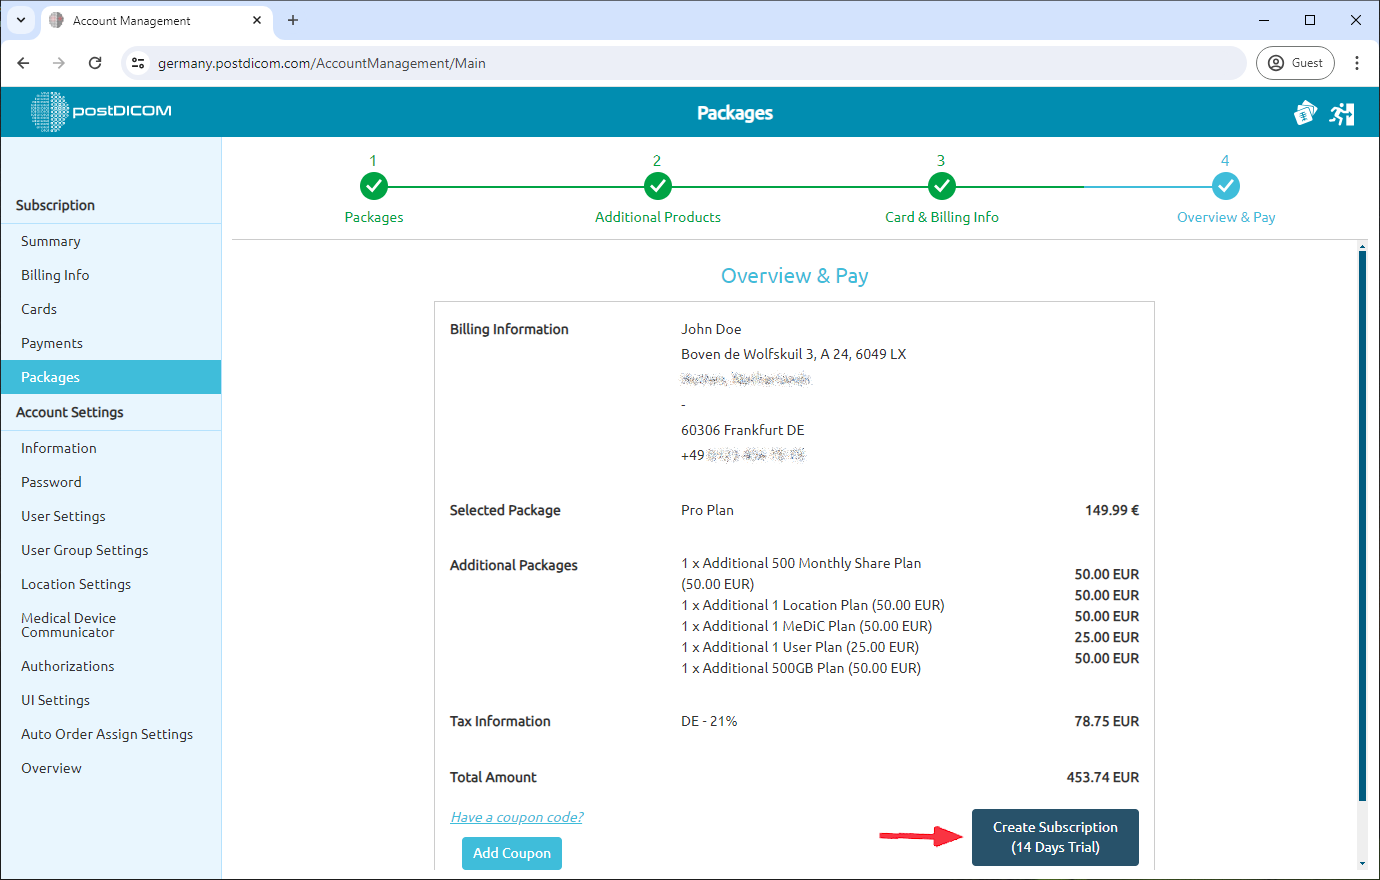
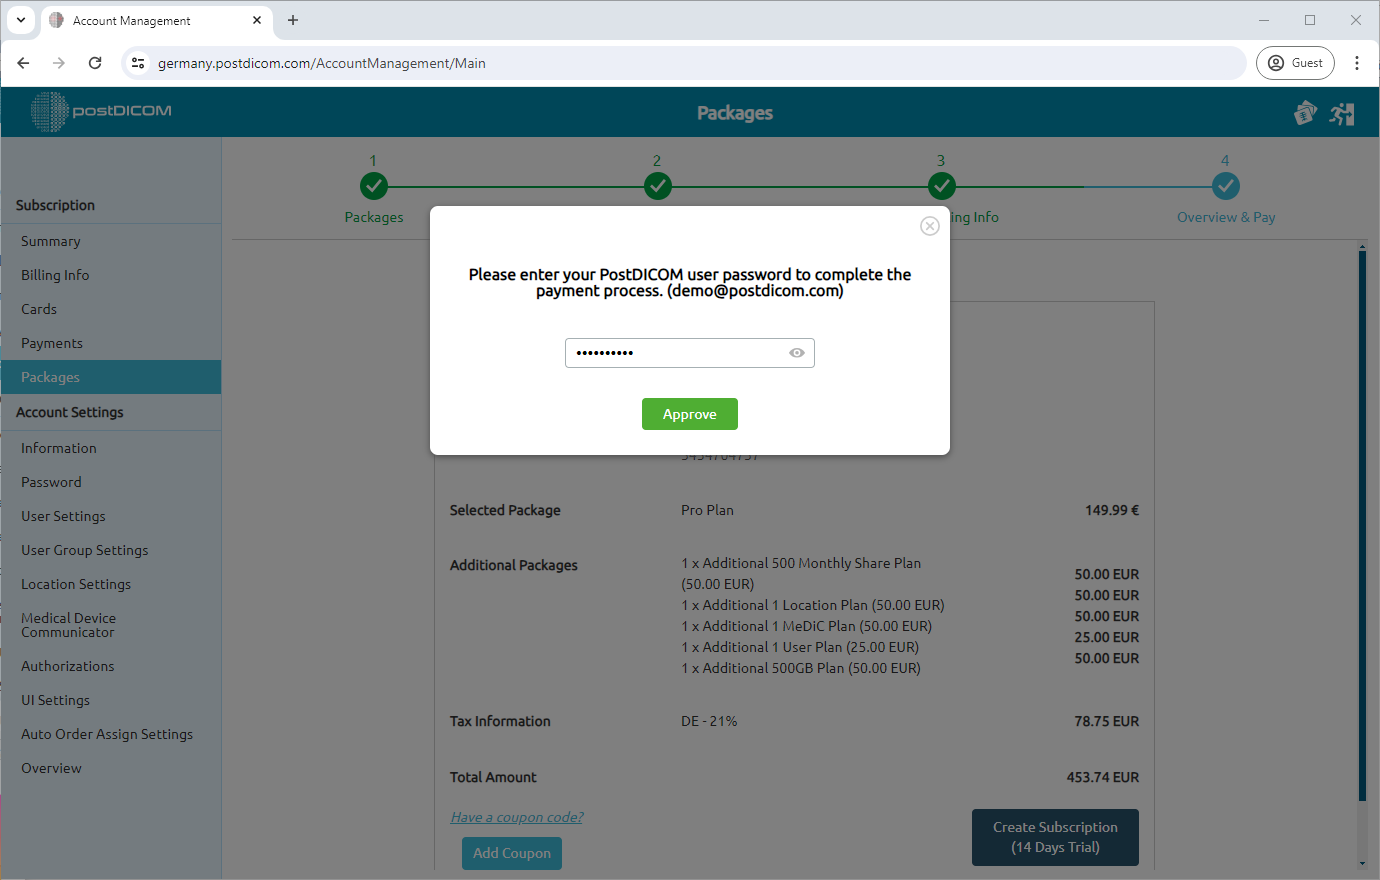
The "Overview & Pay" screen will display your chosen plan and billing details. Click the "Create Subscription" button to finalize your purchase.
To complete the payment process, you'll need to enter your PostDICOM user password. Click "Approve" after entering your password.
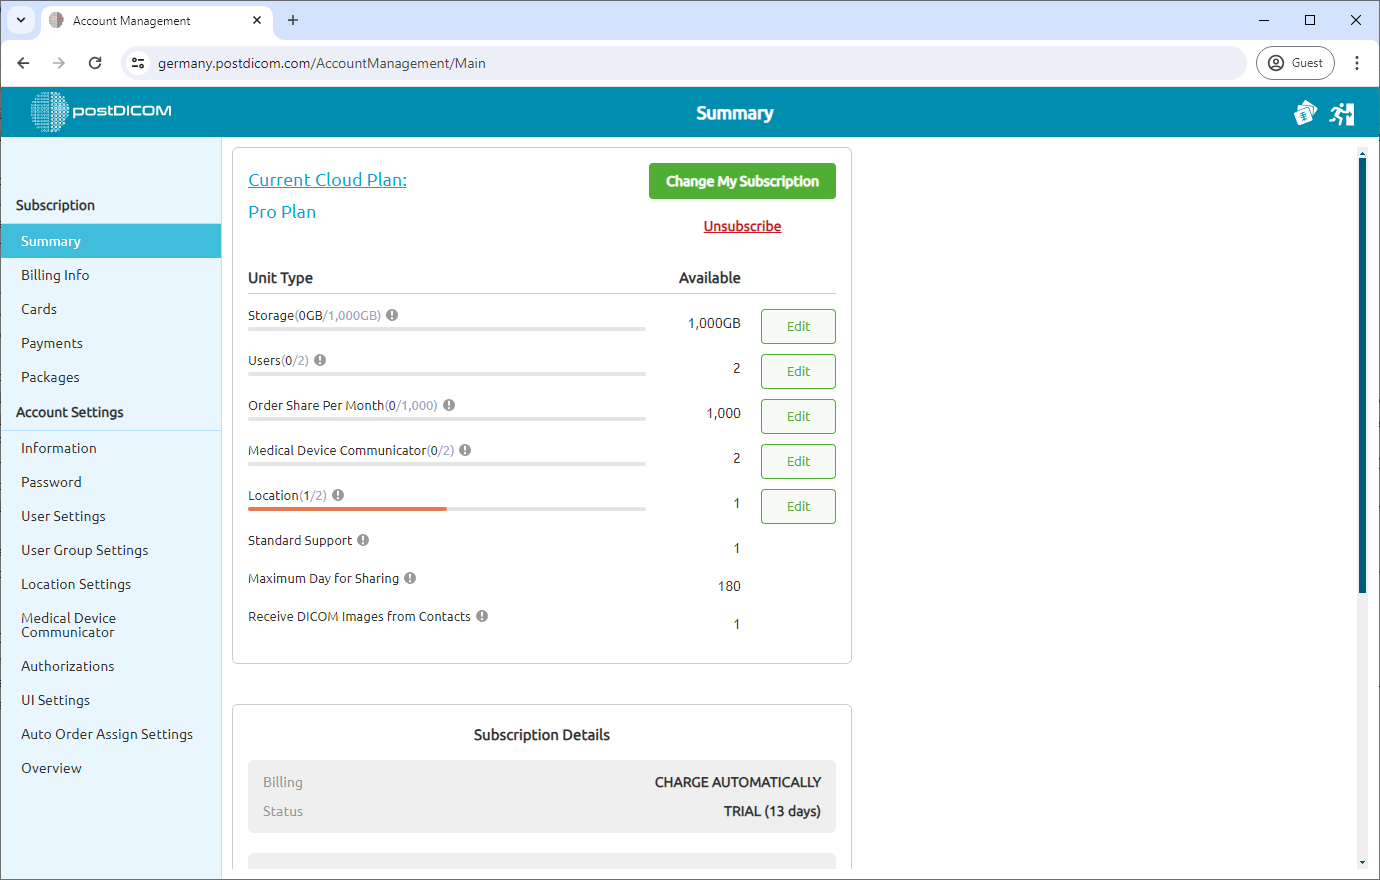
Upon successful completion, you'll see a confirmation message. You can check your subscription details from the "Summary" section. Click on the "Go to Summary" button.
You can view your subscription details here.